
User onboarding
Enrolling faces
People register their face in one of three ways: a one-time enrolment link opened on their own phone, a terminal in Enrol mode on site, or an open enrolment link shared with a crew. Every path includes the consent screen before any capture happens.
6 min read · 5 steps
- 1
Send an enrolment link
On the People page press Send enrolment link next to a person (or select many rows and use the bulk action). They receive an email, plus a text when SMS is configured, with a one-time link that lasts 24 hours.
- 2
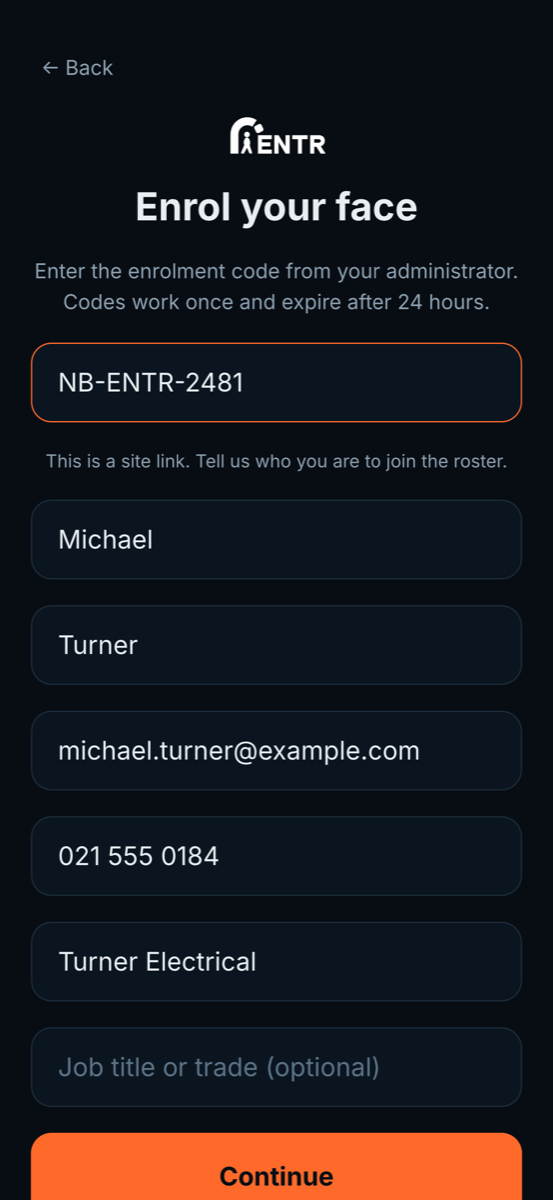
They open it on their phone
The link opens in their phone browser: no app install needed. They check their details, add anything missing, accept the biometric consent.
- 3
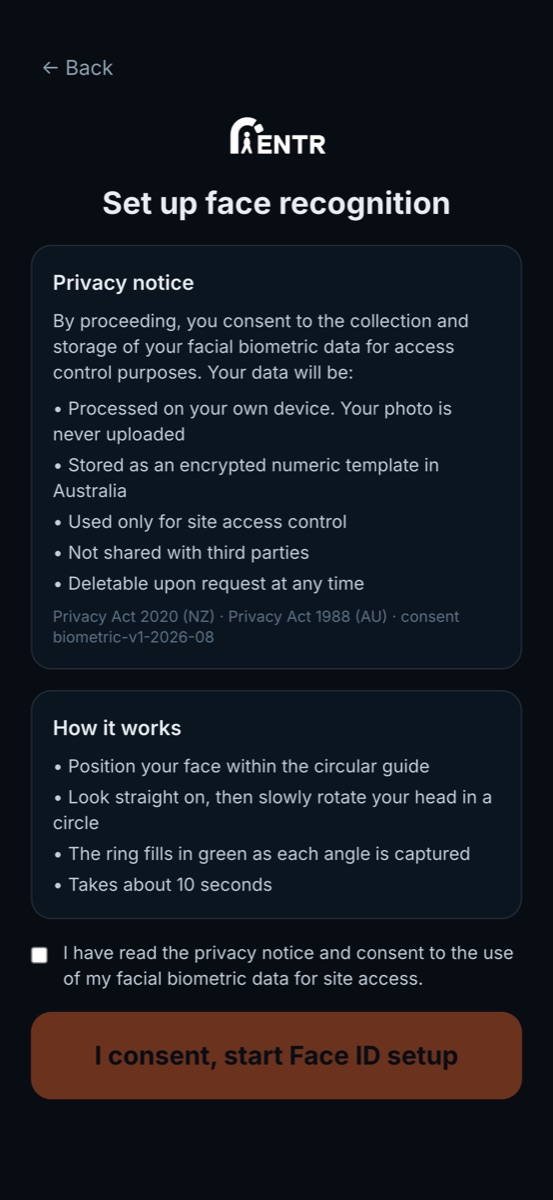
Consent comes first
The consent screen explains in plain words what is stored: a numeric face template for matching, plus one profile photo when your business has profile photos turned on. Capture cannot start until they agree. They can request deletion at any time.
- 4
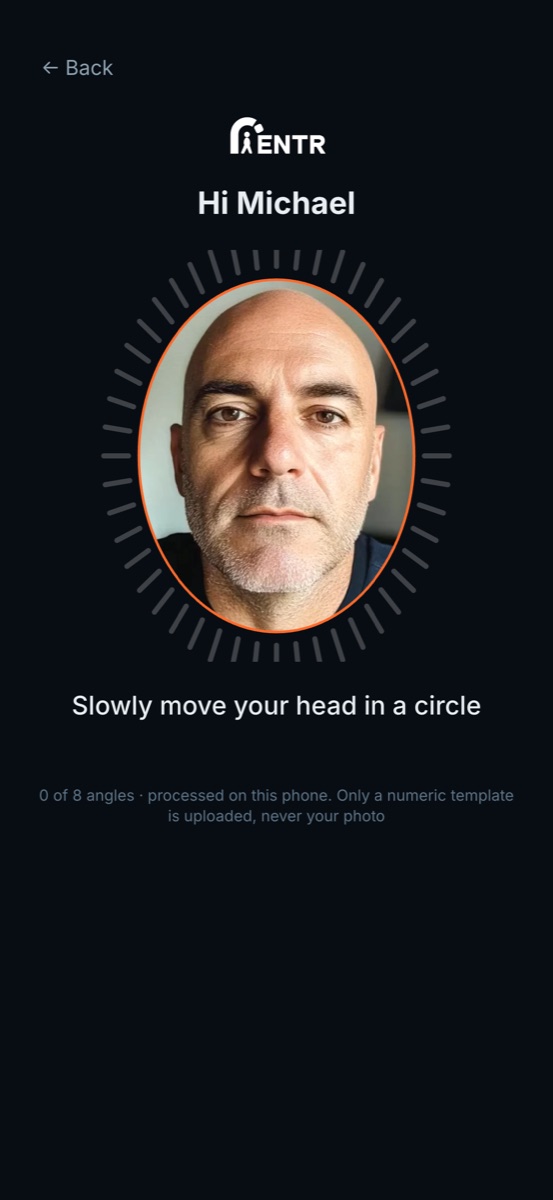
Guided face capture
An oval guide frames their face. The screen names one direction at a time (turn to your right, chin up, and so on) and asks them to hold for a moment while that part of the ring fills; about 20 seconds on a modern phone. When the ring completes, enrolment is done: their next walk-up to a terminal signs them in.
- 5
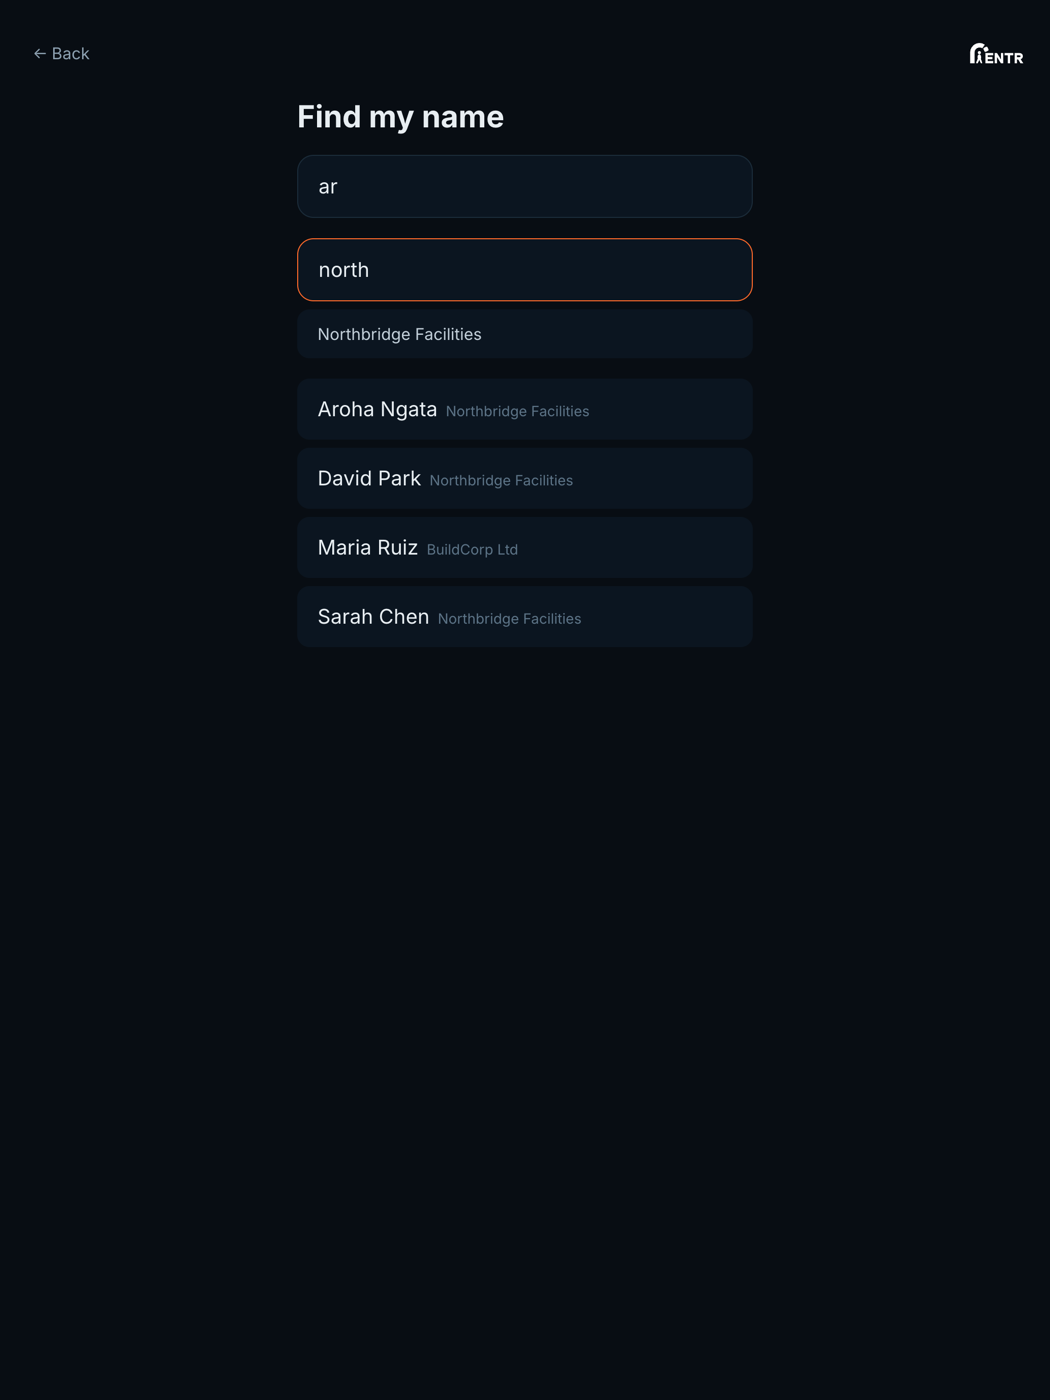
Or enrol at a terminal
People without a suitable phone enrol at any terminal in Enrol mode: Find my name for people you have already added, Register a new person for walk-ups. The same consent plus capture flow runs on the iPad.
Using iENTR at a construction site? See how the whole system fits your door.
iENTR for construction →Related guides
Try it on one door.
Seven days free, cancel any time. Mount the iPad, pair it with one code and you are running inside half an hour.